Welcome to ROSMASTER A1 PRO repository
5.Robotic Arm Gripping+Multimodal Visual Understand+SLAM Navigation
5. Robotic Arm Gripping + Multimodal Visual Understanding + SLAM Navigation (Voice Version)
1. Course Content
Learn how the large model integrates voice interaction, multi-point SLAM autonomous navigation, multimodal target recognition perception, robotic arm spatial localization, and precise grasping and placement, to execute fully autonomous cross-room embodied long-duration transport tasks;
Master the complete Chain of Thought decomposition logic for cross-space transport and the voice interaction feedback mechanism;
Learn the state retention after the robotic arm grasps an object, long-range obstacle-avoidance movement, and autonomous placement control at the target point (
putdown);Analyze the core source code of the chassis navigation client, visual detection and localization, and multi-DOF robotic arm coordinated control.
Note: This chapter requires that the map mapping file (
map_mapping.yaml) has been configured firstThis case uses the matching 3 * 3 * 3 blocks
2. Preparation
2.1 Description
This lesson is applicable to controllers such as Raspberry Pi 5, Jetson Orin NANO, and D-Robotics RDK X5:
Raspberry Pi 5: You need to first enter the Docker container before executing ROS 2 related commands. Refer to [3.Enter Docker (For Raspberry Pi)] in [Robot Configuration and Operation Guide];
Orin / RDK X5: Directly run the commands in the vehicle terminal; there is no need to enter Docker.
2.2 Start the Dify Local Large Model Environment
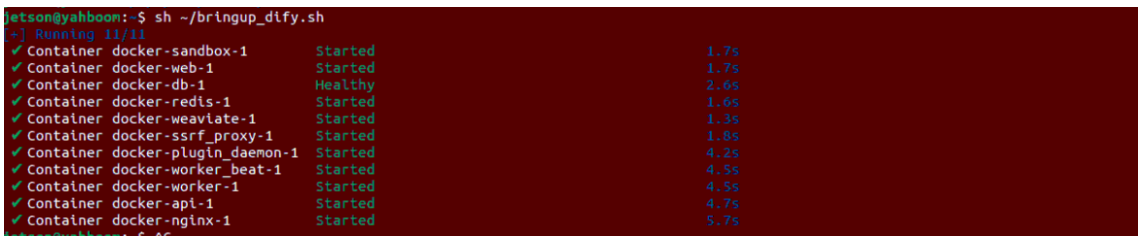
Enter the following command in the host terminal to start the Dify service:
xxxxxxxxxxsh ~/bringup_dify.shThe terminal prints the following information, indicating that the Dify service is connected successfully:
Important
Prerequisite:
This lesson requires the robot to navigate on an already-built map. Please ensure that you have completed mapping according to the navigation chapter and Chapter 4, and calibrated the physical coordinates and poses of areas such as "office" and "pantry".
3. Running the Cases
3.1 Start the System Master Control Node (Voice Mode)
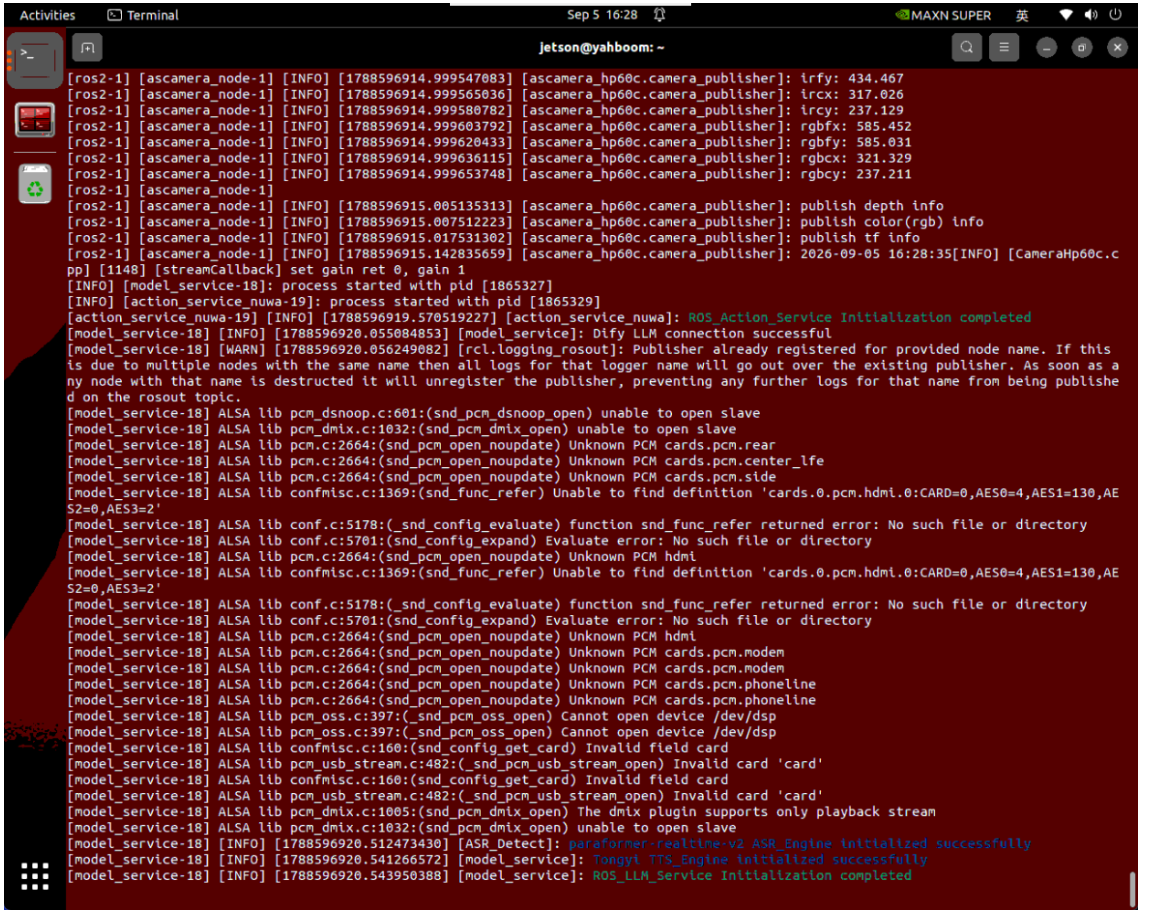
Enter the following command in the vehicle terminal to start the large model voice embodied control service:
xxxxxxxxxxros2 launch multi_brains llm_agent_control.launch.pyAfter the node is ready, the terminal prints the following information:
3.2 Start the SLAM Navigation and Visualization System
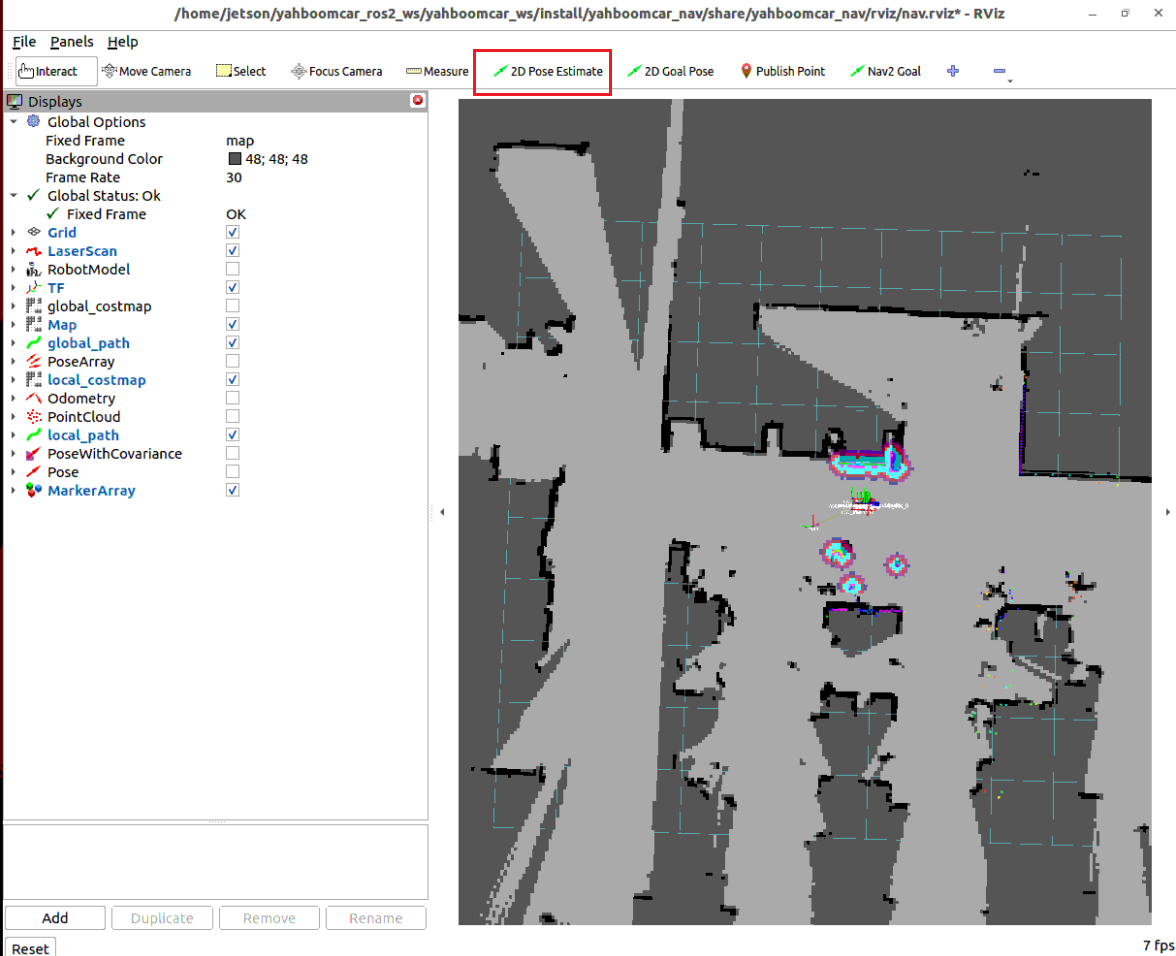
On the vehicle desktop or through VNC, open another terminal and start the navigation visualization interface:
xxxxxxxxxxros2 launch yahboomcar_nav display_nav_launch.pyThen open another terminal and start the underlying navigation algorithm: (the navigation algorithm must be based on whichever localization method was used during point calibration. If it is relocalization, run relocalization navigation, because the pose may differ for each localization method):
xxxxxxxxxx#AMCL localization + navigationros2 launch yahboomcar_nav navigation_teb_launch.py
#Relocalization method; for details, refer to Cartographer relocalization navigationros2 launch yahboomcar_nav localization_imu_odom.launch.py use_rviz:=false load_state_filename:=$HOME/yahboomcar_ros2_ws/yahboomcar_ws/src/yahboomcar_nav/maps/map.pbstream
ros2 launch yahboomcar_nav navigation_cartodwb_launch.py maps:=$HOME/yahboomcar_ros2_ws/yahboomcar_ws/src/yahboomcar_nav/maps/map.yaml
In the opened RViz2 window, use the 2D Pose Estimate tool to perform initial alignment and localization according to the parking position of the car in the real scene:
3.3 Voice Interaction Specification
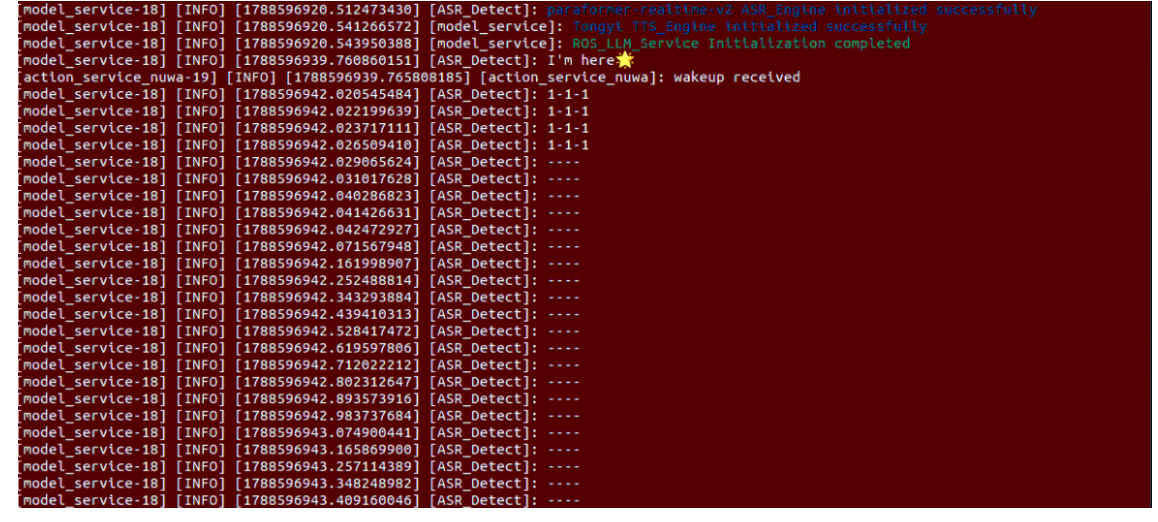
Voice interaction does not require starting a text interaction node:
First clearly call the wake word: "Hi,yahboom" (or "yahboom, yahboom");
Listen for the car's voice response: "I'm here, please give me instructions" or various personalized wake-up voices;
After the response ends, you can speak the test instruction to the robot.
3.4 Classic Test Case
Wooden blocks used for testing: standard 30 × 30 × 30 mm building blocks.
Cross-Space Continuous Autonomous Transport Instruction
After waking up yahboom, speak the test instruction to the car:
xxxxxxxxxxHelp me carry the red block in front of you to the pantry, and then carry the yellow block in the pantry to the officeAfterward, the execution-layer large model strictly executes the steps of this task:
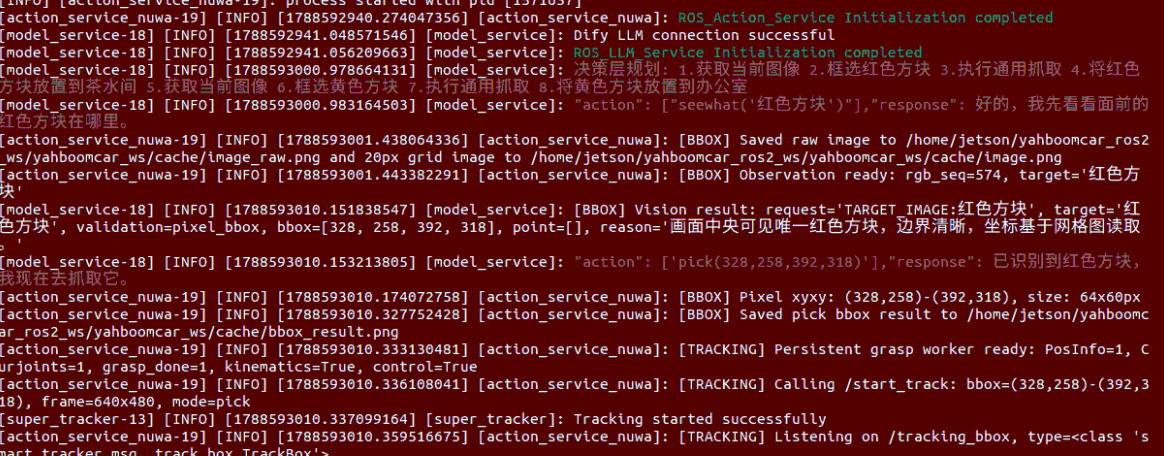
Execution Process and Phenomena:
Grasp the red block in front: As instructed, the robot first observes and precisely grasps the red block in front of it:
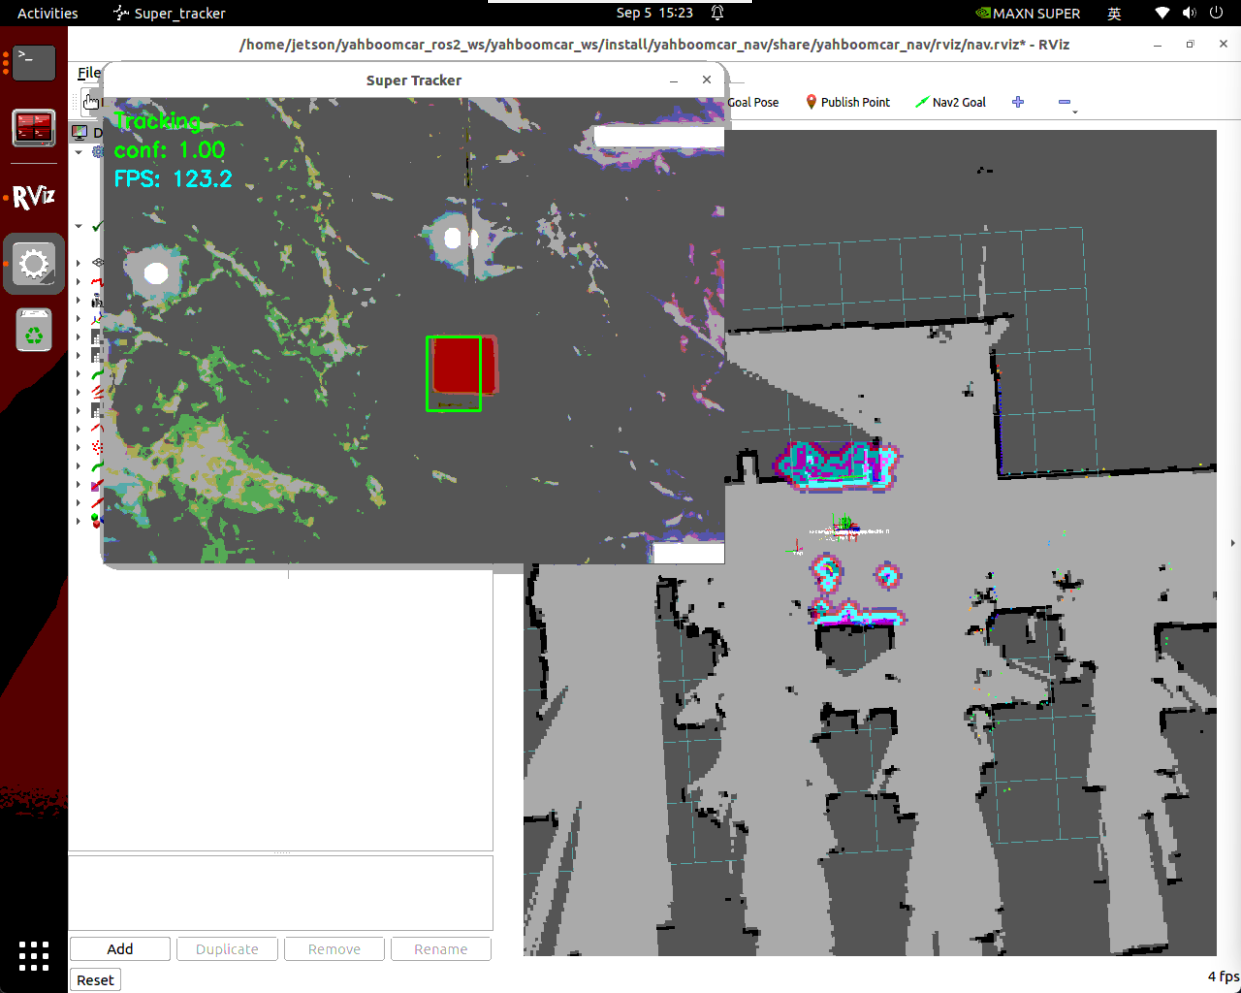
Navigation and lowering: The car chassis starts autonomous obstacle-avoidance navigation and travels to the "pantry" point, and uses the robotic arm to steadily put down the red block:
Re-observation and secondary transport: At the "pantry", it calls
seewhatagain to observe, locates and grasps the yellow block, and then navigates to the "office":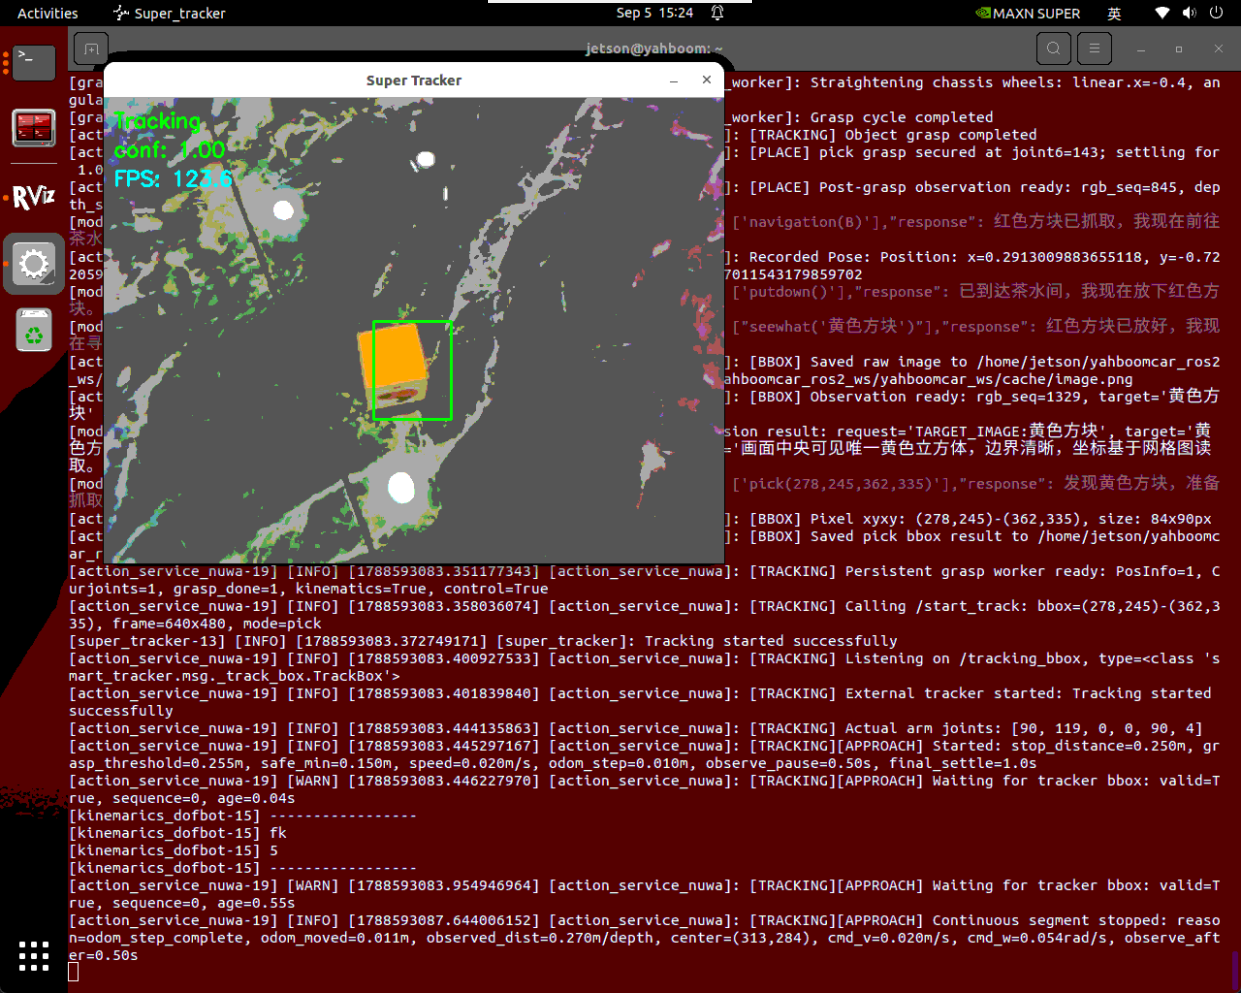
Task completion and ending the interaction: After putting down the yellow block at the "office", the robot announces through voice TTS that the task is complete, and enters the waiting state. At this point, after waking up yahboom, say:
"Go take a rest"to reset the current conversation:
4. Core Source Code Analysis
Source code package path:
~/yahboomcar_ros2_ws/yahboomcar_ws/src/multi_brains
This case supports dual-architecture compatibility with the 3D depth camera (Nuwa scheme: action_service_nuwa.py) and the USB monocular camera (USB scheme: action_service_usb.py). Both schemes implement the unified standard ActionController interface:
Differentiated adaptation of the grasping stage: The Nuwa depth camera uses point-cloud back-projection spatial inverse-solution grasping (
pick), while the USB monocular camera uses closed-loop visual servoing alignment grasping (grasp_obj);Common standard for transport and placement: Long-range navigation scheduling (
navigation) and stable lowering at the target point (putdown) have completely unified logic in both codebases.
4.1 Robotic Arm Placement Function putdown() (Common to Both Schemes)
After completing long-range navigation and arriving at the target room, the robot needs to safely put down the held object. The putdown() function controls the robotic arm to descend steadily while maintaining the current gripper clamping force, and after reaching the position, opens the gripper after a delay and retracts safely:
xxxxxxxxxxdef putdown(self): # Get the joint angle list for the put-down pose joints = list(self.putsown_joints) # Maintain the gripper holding force to prevent the object from slipping out prematurely during descent joints[5] = clamp_servo_angle( 6, self.held_gripper_angle if self.object_held else self.place_gripper_hold_angle, ) # Control the six DOFs of the robotic arm to descend to the placement pose self.pubSix_Arm(joints) time.sleep(2.5) # Open servo 6 (gripper) to 30 degrees to release the block self.pubSingle_Arm(6, 30, 1000) self.object_held = False time.sleep(1.2) # Retract the robotic arm to its initial folded pose (to avoid affecting the chassis radar's line of sight and the moving center of gravity) self.pubSix_Arm(self.init_joints) return TrueAction safety: Immediately after placement is complete, the robotic arm is retracted to the
self.init_jointsfolded pose. This is crucial for chassis navigation, as it prevents the robotic arm from extending too far and blocking the lidar scan or causing an unstable traveling center of gravity.
4.2 Navigation Action Scheduling navigation()
The navigation module communicates asynchronously with the Nav2 action service side navigate_to_pose through the ROS 2 Action client:
xdef navigation(self, point_name): ''' General navigation control function ''' self.nav_runing = True point_name = point_name.strip("'\"") # Verify whether the passed-in target point name is in the semantic dictionary if point_name not in self.navpose_dict: self.get_logger().error(f"目标点 '{point_name}' 不存在于导航语义字典中。") return None
if self.first_record: # Record the robot's initial pose before departure to facilitate returning along the original route in subsequent tasks self._record_current_pose() self.first_record = False
# Obtain the target point's Pose coordinates and send the Goal target_pose = self.navpose_dict[point_name] goal_msg = NavigateToPose.Goal() goal_msg.pose = target_pose send_goal_future = self.navclient.send_goal_async(goal_msg) ...