Welcome to ROSMASTER A1 PRO repository
2.OpenClaw Arm Tracking And Grasping
OpenClaw Robotic Arm Tracking And Grasping
OpenClaw Robotic Arm Tracking And Grasping1. Course ContentCourse OverviewLearning Objectives2. Preparation3. Robotic Arm Grasping Target Item Case PracticeStep 1: Issue Grasping CommandStep 2: Visual Initial Screening and Bounding Box VerificationStep 3: Hand-Eye Tracking and Chassis Autonomous ApproachStep 4: Grasping Point Estimation and Debug Image GenerationStep 5: Execute Grasping and Automatic Retreat4. Core Source Code Analysis4.1 pick() — Mobile Grasping Total Scheduling Function4.2 _get_grasp_point() — Dual-Center Adaptive Spatial Positioning Algorithm5. Parameter DebuggingKey Parameter Function Quick Reference Tablegrasp_offset Offset Fine-Tuning Rules (Right-Hand Coordinate System)Coordinate Axis and Physical Direction Memory Mnemonic:Practical Debugging Case Exercise:
1. Course Content
Course Overview
In the field of embodied intelligence, Mobile Manipulation is one of the most classic and practical functions. It requires the robot to have both "legs (mobile chassis)" for displacement and "hands (multi-degree-of-freedom robotic arm)" for precise operation.
If we observe a human reaching for a cup on a table that is far away, the entire process is very natural:
Look at the target: The eyes first lock onto the cup (visual detection and locking).
Approach the target: If the cup is too far for the arm to reach, our feet will actively move forward a couple of steps to the most comfortable grasping distance (chassis coarse alignment).
Reach precisely: The brain calculates how much each joint of the arm should bend, and the palm extends steadily toward the cup (spatial pose estimation and inverse kinematics IK solving).
Grasp securely and step back: After gripping the cup, the body steps back slightly to avoid the arm hitting other items on the table when turning around (automatic safe retreat after grasping).
This case uses 4 * 4 * 4 cm matching cubes
Learning Objectives
Master the complete process of commanding the robot to grasp specified objects through OpenClaw dialogue (WebChat or voice).
Understand the "hand-eye coordination" closed-loop control principle of mobile chassis and robotic arm.
Master the tuning methods for key parameters (
grasp_offsetgrasp 3D offset,grasp_distancegrasp distance threshold,auto_back_distsafe retreat distance).Be able to independently diagnose grasping deviation causes through generated verification images (visual bounding box deviation vs depth ranging deviation).
2. Preparation
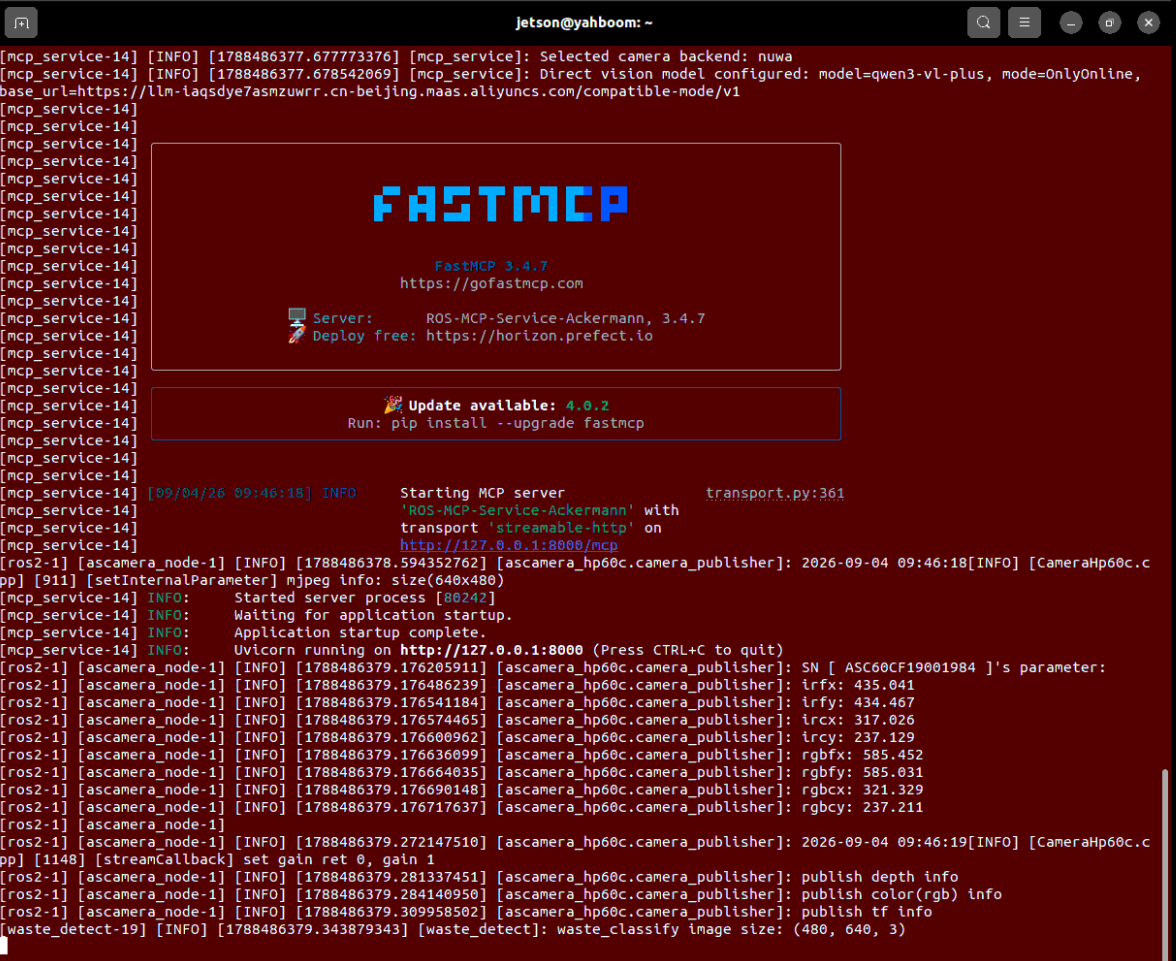
Start core nodes such as odometry, TF transformation, robotic arm assistance, camera node, and MCP service:
ros2 launch dofbot_pro_bringup mcp_service.launch.pyIf you need voice broadcast replies, you can use the command with
launch_openclaw_bridgeparameter to start the program:
xxxxxxxxxxros2 launch dofbot_pro_bringup mcp_service.launch.py launch_openclaw_bridge:=true
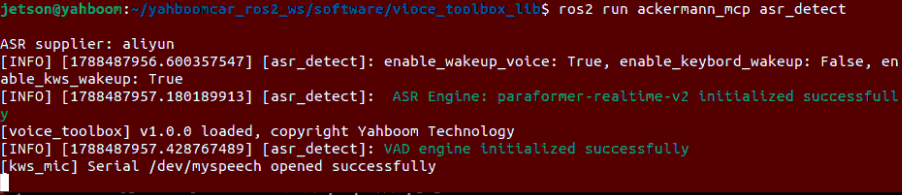
If you need voice dialogue interaction, you can run the following command (choose one between WebChat web interface and voice wake-up interaction):
xxxxxxxxxxros2 run ackermann_mcp asr_detect
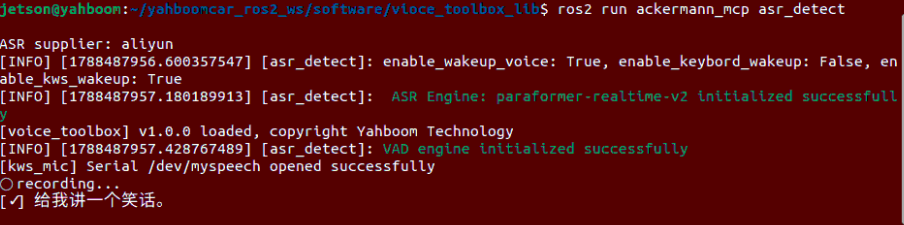
After shouting the wake-up word "Hi, yahboom", the indicator light turns on and you can speak the content you want to dialogue:
3. Robotic Arm Grasping Target Item Case Practice
Tip
Instructions can be expressed naturally according to your actual needs. The following are case demonstrations, choose any interaction method. Here we use the web-based WebChat as an example.
Important
This tutorial demonstrates grasping a standard 4x4x4 cm wooden cube. This algorithm can also grasp common objects of similar sizes.
Since the servo uses angle control, if the gripper grasps too loose or too tight, fine-tuning can be done through the gripper angle in the parameters.
Step 1: Issue Grasping Command
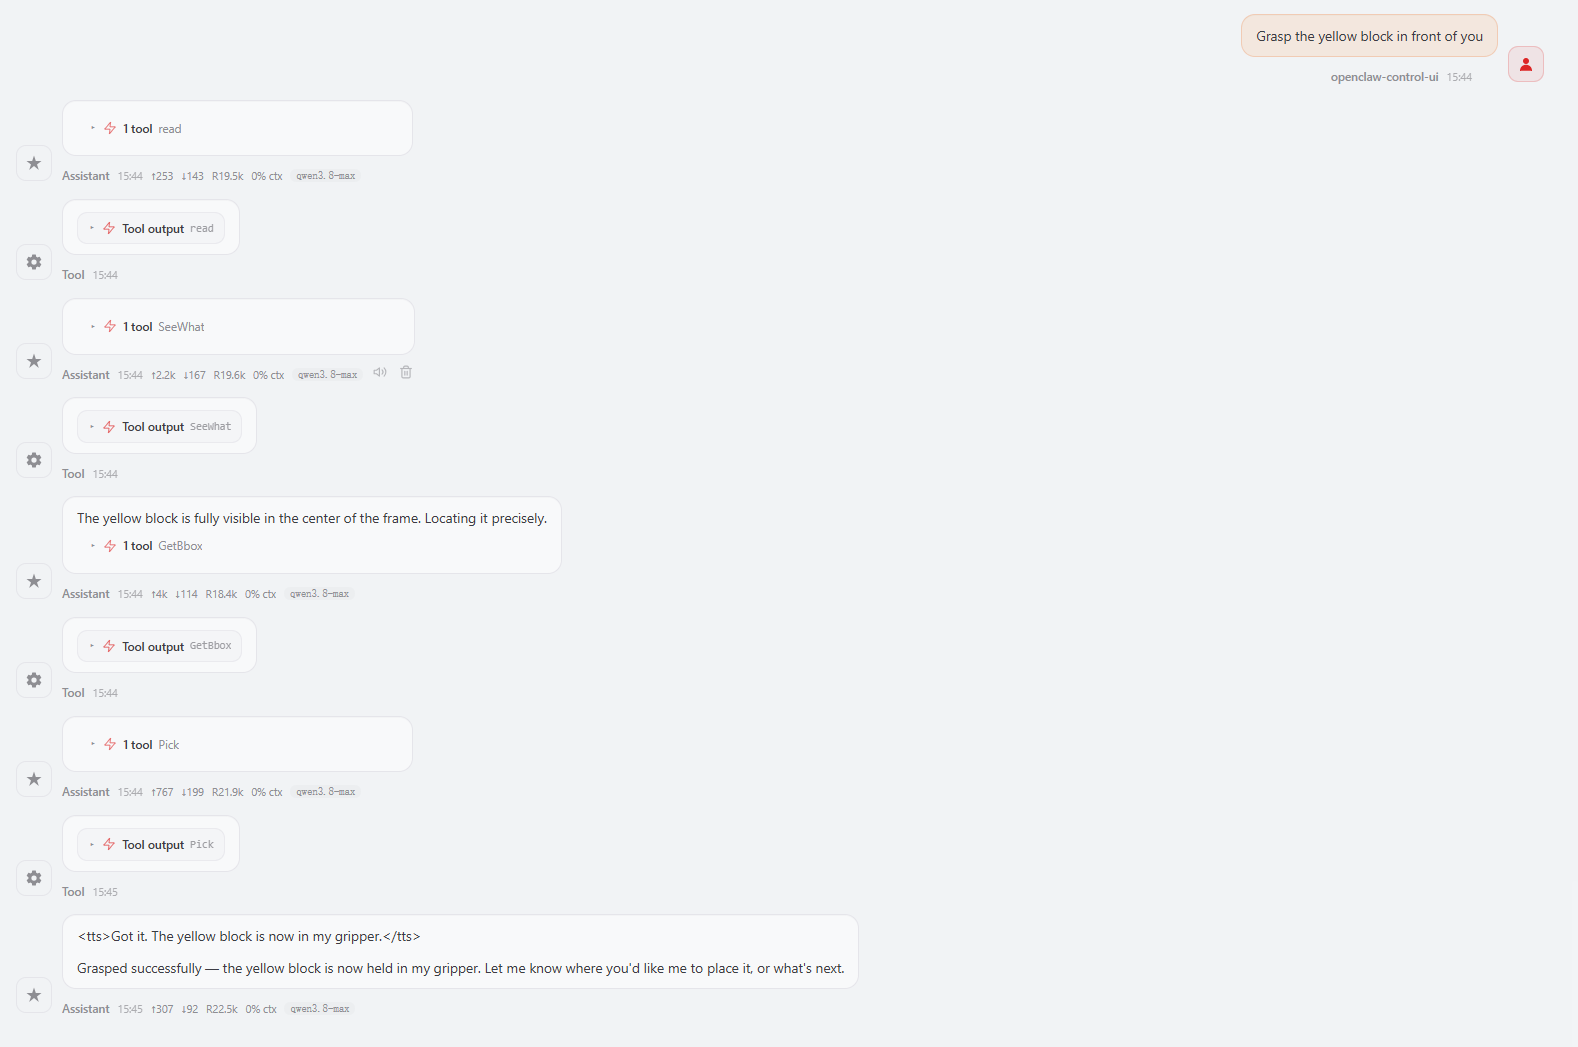
Enter the command in the WebChat interface:
"Grasp the yellow block in front of you"
Step 2: Visual Initial Screening and Bounding Box Verification
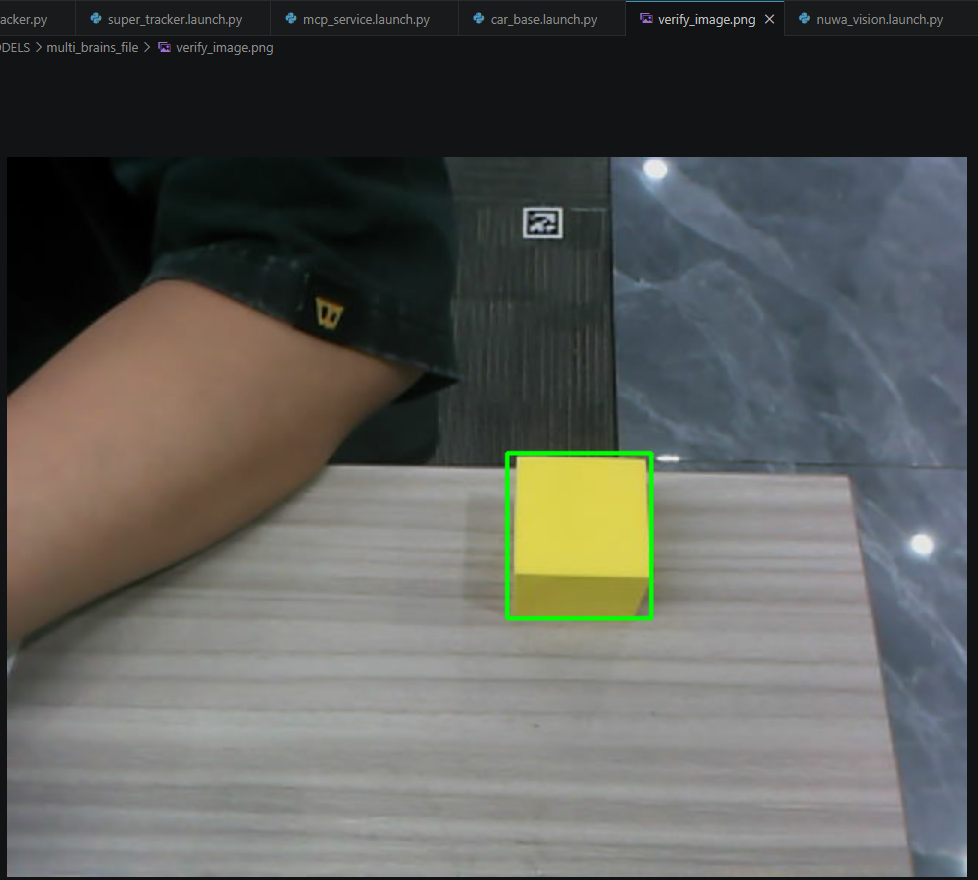
After OpenClaw receives the intent, it first calls GetBbox to obtain the outer bounding box coordinates (x1, y1, x2, y2) of the yellow block in the image.
The system automatically generates a detection verification image for you to check if the LLM accurately circled the cube. The verification image is saved to:
xxxxxxxxxx~/MODELS/multi_brains_file/verify_image.png# If it's the USB camera version, the generated image filename will have a -usb suffix:# ~/MODELS/multi_brains_file/verify_image-usb.png
Step 3: Hand-Eye Tracking and Chassis Autonomous Approach
After confirming the target bounding box, the robot automatically enters tracking mode, and the robotic arm rotates to center the cube.
The chassis autonomously moves forward or adjusts lateral position based on the measured target distance, ensuring the yellow block smoothly enters the robotic arm's most comfortable grasping workspace.
Step 4: Grasping Point Estimation and Debug Image Generation
After chassis adjustment is complete, the program triggers the grasping point calculation algorithm to precisely calculate the 3D coordinate point of the object in the robot's coordinate system. The system automatically draws grasping point auxiliary lines in the image and saves it. The image save path is:
xxxxxxxxxx~/MODELS/multi_brains_file/grasp_point_image.png# If it's the USB camera version, the generated image will have a -usb suffix, for example:# ~/MODELS/multi_brains_file/grasp_point_image-usb.png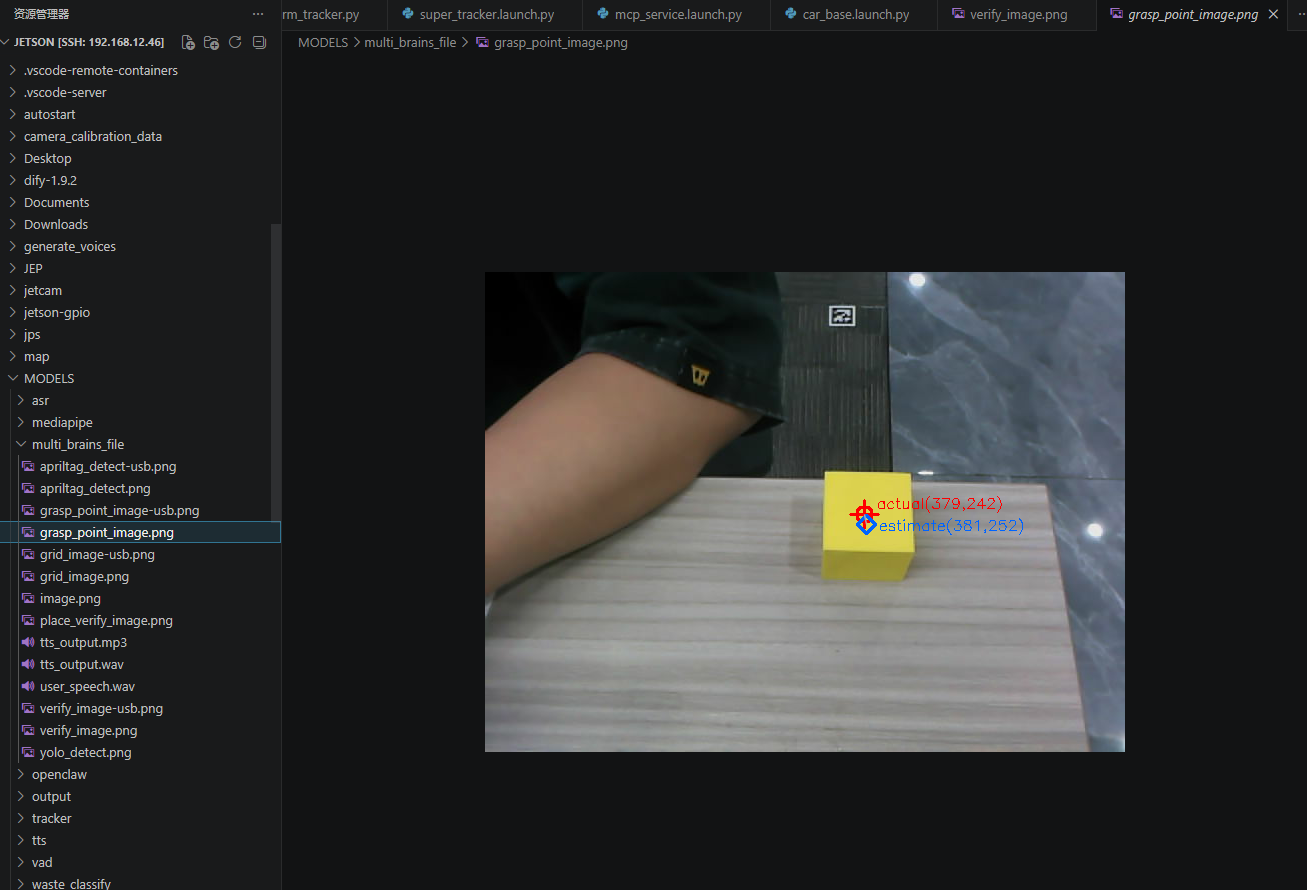
Image annotation description:
Red crosshairs: The actual center point detected by camera point cloud (Actual Center).
Blue diamond point: The center point estimated by the algorithm combined with geometric priors (Estimate Center).
The line connecting them intuitively reflects the depth compensation amount, greatly improving grasping success rate under complex lighting.
Step 5: Execute Grasping and Automatic Retreat
The robotic arm uses inverse kinematics calculation to extend the gripper steadily toward the yellow block, closes the gripper to clamp the object, then the car chassis automatically backs up a safe distance (auto_back_dist), and the entire grasping action is successfully completed!
4. Core Source Code Analysis
Source code file path:
xxxxxxxxxx~/yahboomcar_ros2_ws/dofbot_pro_ws/src/ackermann_mcp/ackermann_mcp/action_controller.py
In the ActionController control class, the grasping function is mainly completed by the high-level scheduling function pick() and the 3D spatial positioning function _get_grasp_point() working closely together.
4.1 pick() — Mobile Grasping Total Scheduling Function
When OpenClaw understands the grasping intent and obtains the detection box coordinates, it directly calls this function:
xxxxxxxxxxdef pick(self, x1:int, y1:int, x2:int, y2:int) -> list[bool, str]: """Main process for grasping specified target object""" # Step 1: Start visual target tracking service (lock onto target cube) result = self.start_track_client.call( StartTrack.Request(x1=x1, y1=y1, x2=x2, y2=y2)) if not result.success: return [False, "Failed to start tracking"] # Step 2: Adjust chassis and robotic arm posture so target enters comfortable grasping range if not self._adjust_grasp_pose(): return [False, "Failed to adjust grasp pose"] # Step 3: Precisely calculate 3D spatial grasping point coordinates of target object result = self._get_grasp_point() if not result[0]: return [False, "Failed to get grasp point"] # Step 4: Inverse kinematics (IK) calculation and execute robotic arm descent, grasping, and clamping actions self._grasp(grasp_x=result[1], grasp_y=result[2], grasp_z=result[3], grasp_pitch=self.grasp_offset[3]) # Step 5: After grasping is complete, chassis automatically backs away to prevent collision with obstacles self.move_by_odom(direction='backward', distance=self.auto_back_dist) return [True, "Pick succeeded"]4.2 _get_grasp_point() — Dual-Center Adaptive Spatial Positioning Algorithm
In actual engineering environments, plastic/acrylic/metal cube surfaces easily cause reflections, or RGB-D depth camera point clouds may have "depth holes (missing)" due to ambient lighting changes. To solve this industry pain point, the system innovatively adopts a dual-center geometric compensation mechanism:
xxxxxxxxxxdef _get_grasp_point(self) -> list: """Get 3D spatial coordinates of grasping point (with anti-lighting and depth missing compensation)""" # 1. Ensure target center point calculation service is available if not self.box_center_client.wait_for_service(timeout_sec=8.0): return [False, "get grasp point service not available"] # 2. Capture current frame and request underlying vision service to extract grasping point self.SeeWhat() response = self.box_center_client.call(GetBoxCenter.Request()) if not response.success: return [False, response.message] # 3. Draw grasping point verification image for user and developer debugging image = cv2.imread(self.image_path) ax, ay = int(response.actual_center[0]), int(response.actual_center[1]) ex, ey = int(response.estimate_center[0]), int(response.estimate_center[1]) # Draw actual center (red) and estimated center (blue) connection markers on image cv2.imwrite(self.grasp_point_path, image) # 4. Core strategy: Prioritize using geometric estimated pose, with millimeter-level compensation based on pixel deviation if response.estimate_pose is not None: offset_x = (ax - ex) / 1000.0 # Convert pixel deviation to meters proportionally offset_y = (ay - ey) / 1000.0 if abs(offset_x) < 0.02: offset_x = 0.0 # Filter out tiny vibrations less than 2cm if abs(offset_y) < 0.02: offset_y = 0.0 # Map horizontal and vertical pixel compensation to robot's 3D coordinate system grasp_x = response.actual_pose.position.x + offset_y grasp_y = response.actual_pose.position.y + offset_x grasp_z = response.actual_pose.position.z return [True, grasp_x, grasp_y, grasp_z] # 5. Fallback mechanism: If no geometric estimation, directly use actual measured pose return [True, response.actual_pose.x, response.actual_pose.y, response.actual_pose.z]5. Parameter Debugging
Core parameter configuration file path:
xxxxxxxxxx~/yahboomcar_ros2_ws/dofbot_pro_ws/src/dofbot_pro_bringup/config/common.yaml
Core parameters related to grasping function:
xxxxxxxxxxmcp_service ros__parameters # Robotic arm and grasping related parameters GraspKeepPose90 125 3 0 90 140 # Joint angle posture maintained after grasping (final 140 is gripper closure, larger value means tighter grip) grasp_distance0.265 0.0 0.0 # Desired chassis and target relative distance during grasping [x, y, yaw] place_distance0.39 0.0 0.45 0.25 # Placement position and reachable workspace range upper limit grasp_offset0.015 0.015 -0.03 2.0 # Grasping space fine-tuning offset [x, y, z, grasping pitch angle] usb_grasp_offset0.00316 -0.00433 0.0 1.3963 # USB camera Grasp IK offset [x,y,z,pitch] place_offset-0.01 0.00 0.05 1.3 # Placement space fine-tuning offset auto_back_dist0.13 # Automatic retreat distance after grasping/placement, unit: meters # Odometry and motion control parameters odom_linear_speed0.08 # Smooth moving linear speed when approaching target (m/s) odom_angular_speed0.5 # Steering micro-adjustment angular speed (rad/s) target_circle10 # Pixel sampling radius when sampling 3D space points enable_auto_backTrue # Whether to enable automatic retreat after graspingKey Parameter Function Quick Reference Table
| Parameter Name | Corresponding Code Location | Popular Function Description |
|---|---|---|
GraspKeepPose | Posture reset in _grasp() | Posture when robotic arm retracts and locks after gripping object, prevents sagging and hitting ground |
grasp_distance[0] | Distance judgment in _adjust_grasp_pose() | Expected X-axis front-rear base distance from robot chassis to cube (default approximately 0.265 meters) |
grasp_offset | Coordinate superposition fine-tuning in _grasp() | [x, y, z, pitch] offset compensation, used to correct calibration or assembly errors |
auto_back_dist | Grasping finishing action in pick() | Backing distance after successful grasping (default 0.13 meters = 13 cm) |
enable_auto_back | Global retreat master switch | If False, car stops in place without retreating after grasping |
grasp_offset Offset Fine-Tuning Rules (Right-Hand Coordinate System)
The robot's 3D spatial calculation strictly follows the robot's right-hand coordinate system:

Coordinate Axis and Physical Direction Memory Mnemonic:
X-axis (front-rear direction, thumb points to front of car):
If gripper always slips in front of the cube (extends too far) → Decrease X offset (or set to negative).
If gripper closes before reaching position (not extended enough) → Increase X offset.
Y-axis (left-right direction, index finger points to left side of car body):
If gripper always deviates to the right → Need to compensate left, increase Y offset (add positive value).
If gripper always deviates to the left → Need to compensate right, decrease Y offset (add negative value).
Z-axis (up-down height direction, middle finger points above):
If gripper extends down too low causing forceful impact with desktop → Increase Z offset (lift up).
If gripper always passes over the cube's top and misses → Decrease Z offset (press down, e.g.,
-0.03means pressing down 3 cm).
Grasping angle (4th parameter):
Controls end effector gripper pitch angle, default
2.0radians approximately corresponds to downward 115° descent posture, generally keep default.
Practical Debugging Case Exercise:
xxxxxxxxxxProblem phenomenon: Every time grasping the yellow block, the gripper always misses by about 1cm on the right side of the cube.Cause analysis: According to the right-hand coordinate system, the left side of the car body is the positive Y direction, and the right side is the negative direction. Being off by 1cm to the right means the current calculated point deviates toward the negative direction, need to add 0.01m compensation to the left (positive direction).Adjustment operation: Change the second item of grasp_offset in common.yaml from 0.015 to 0.025.Restart verification: Run ros2 launch dofbot_pro_bringup mcp_service.launch.py to retest.
Important
enable_auto_back(automatic retreat function) is to prevent the car from being too close to the operation table edge when combined with navigation maps, which the lidar would treat as an obstacle blocking navigation. The retreat behavior in subsequent courses' garbage sorting, machine code grasping, and fixed-point placement are all controlled by this parameter.